AI Design Studio help
Start with the source you have.
An idea, screenshot, roster, event design, and store mark need different tools. Pick your starting point, then inspect the actual result before you order or publish.
Choose a tool →Choose the right tool
New artwork
Start with Create New Design. Write the exact words you want, the subject, and the intended background.
Open Create →Screenshot or old shirt photo
Use Screenshot to Design. Upload the clearest image you have and say what to keep or rebuild. The source image is a reference, not a finished print file.
Open Screenshot to Design →Names or numbers
Choose Templatizer from AI Design Studio in the gang builder. Bring one approved roster, resolve any fit choice, and proof each name and number.
Open the builder →Artwork for an event
Choose Eventify from AI Design Studio in the gang builder. Start from artwork you may adapt, review the variations, and select the version you want to use.
Open the builder →A mark for a store
In Merchant Settings, generate an icon and preview it with the store name. The generated image contains no lettering; choose a result and save the settings.
Open merchant settings →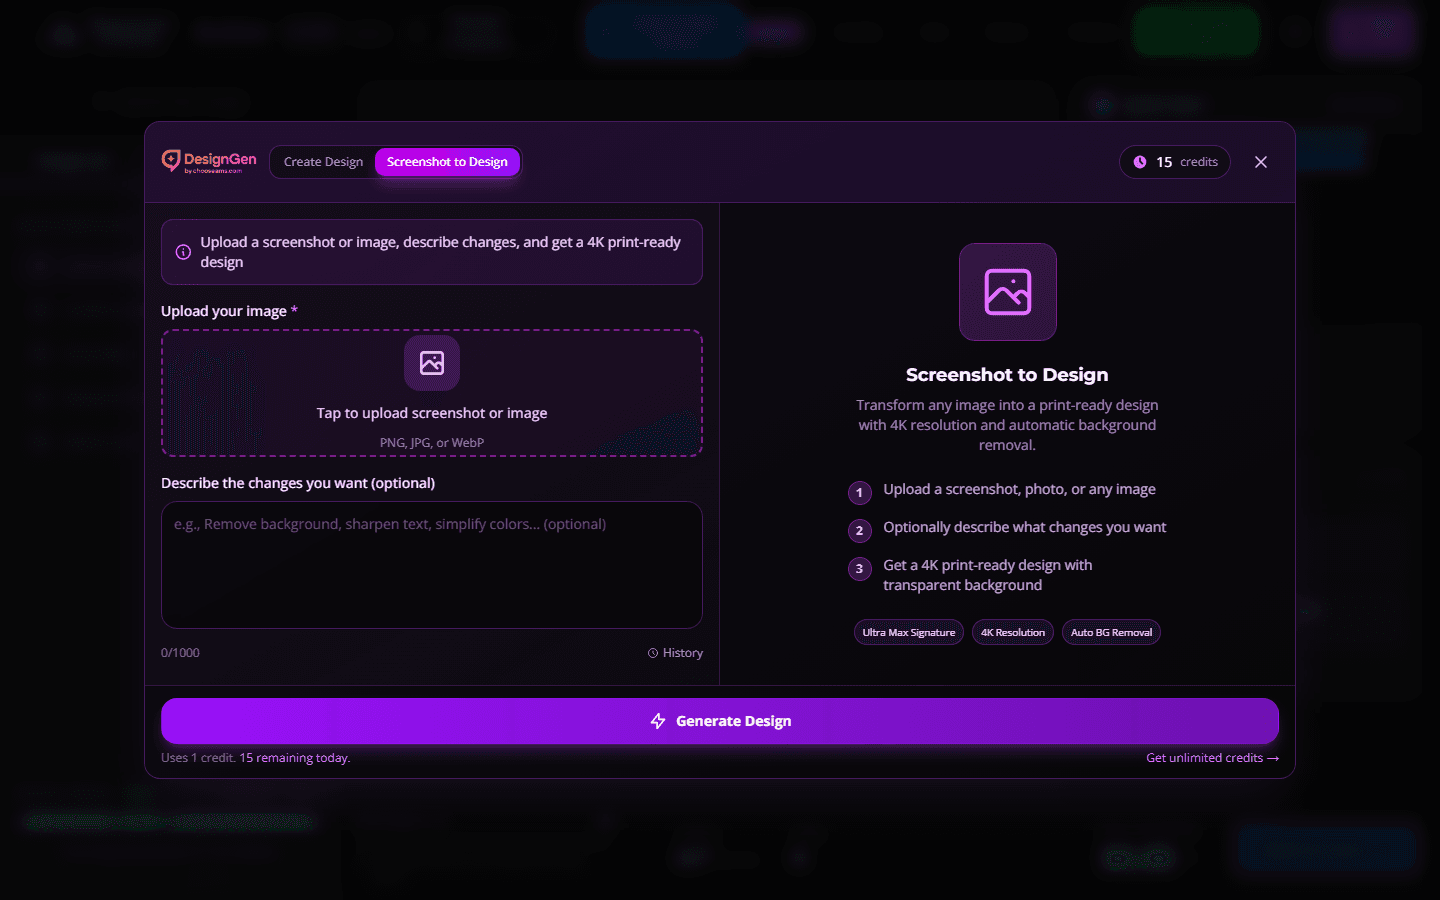
When shown on your account
Choose Detail and Size before spending credits
Detail asks for more or less intricate rendering. Size requests Preview, Standard, or Print size pixels. Start with Standard settings, then move up only for a specific need you can inspect. Neither menu approves the final physical print dimensions for you.
- Choose the tool and enter your brief or reference image.
- Read the credit total shown for one design as you change Detail, Size, or model. Unavailable combinations are over the per-design limit.
- Generate only after the shown total and intended output suit the job.
- Inspect the returned art with the checklist below. Change the brief or settings if the result misses.
Four checks before you use the result
- Words
- Compare every name, date, number, and line of copy with your approved text.
- Edges
- Look at the file on light, dark, and intended garment backgrounds for a box, halo, missing detail, or stray pixels.
- Size
- Check the file pixels against the physical width you plan to print. A Size menu choice alone does not confirm a safe print width.
- Version
- Name one approved result. An attractive mockup is not a substitute for checking the isolated artwork.
For transfer specifications or uncertain artwork, use the file requirements guide or ask AMS to review the file before production. The AI artwork print check shows what can go wrong between a nice screen preview and a transfer.
If a control is missing or a render fails
Tools and settings can differ by account during rollout. Use the choices you see in your builder. If a result fails or a credit balance looks wrong, keep the time, tool, and error message and contact AMS support. Do not place an order from artwork you have not checked.