Quick Answer
Quick answer
AI art can look clean in a small preview and still show soft edges, a background box or incorrect lettering on a DTF transfer. Start with the actual file at the width you want to print. Making an image bigger does not automatically make its details better.
Check four things before choosing a gang sheet: actual pixels at your intended width, exact words and artwork, the background, and the version you will place. A prepared marker is not spelling approval or approval of every print size.
A 2400-pixel-wide image at 10 inches is 240 PPI; at 8 inches it is 300 PPI. This is dimensional math, not quality approval. Empty canvas can make the visible artwork smaller than the placement.
If payment or preparation is unresolved, recover the existing attempt before buying or preparing again. Payment recovery help and reserved-credit help explain the next safe step.
Find your next artwork step
Choose what you know about this version. This guide calculates and explains locally; it does not inspect artwork or send a support request.
Before you order this version
- Proof every word, name, date, and number against approved text.
- Inspect on light and dark backgrounds for leftover color, halos, and holes.
- Check edges and small detail at the intended print size.
- Confirm the selected version matches the version you reviewed.
Original vs upscale vs vector: what actually changes
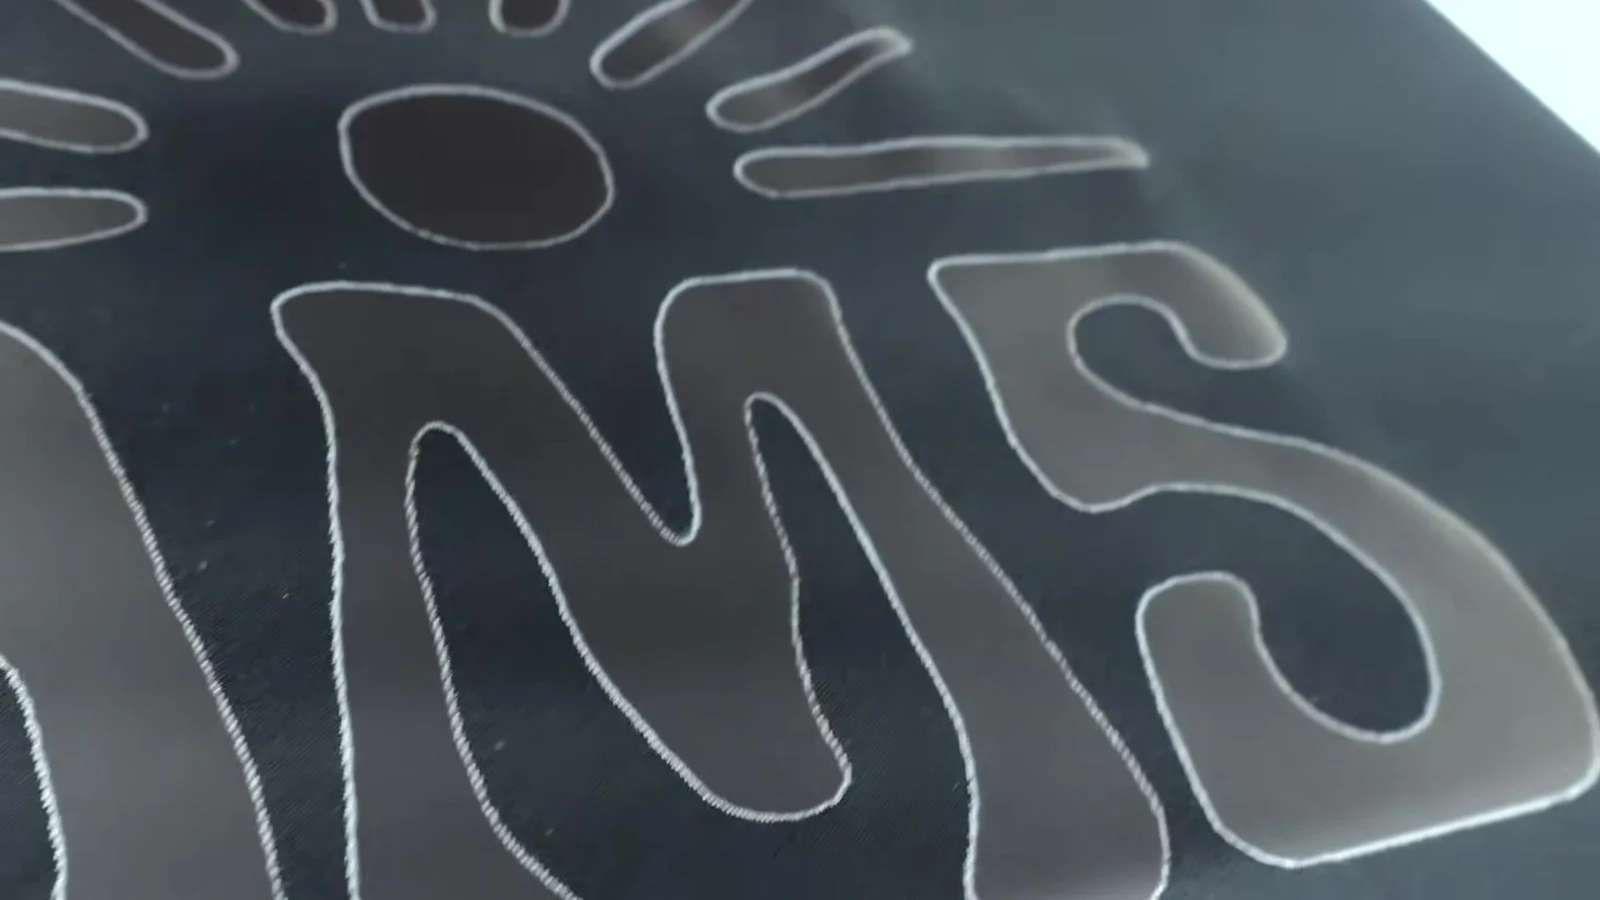
The original export, an upscaled raster and a rebuilt vector are different files. Compare edges and details at the same intended print size. A larger raster can still look soft; a vector trace can change the artwork instead of preserving it.
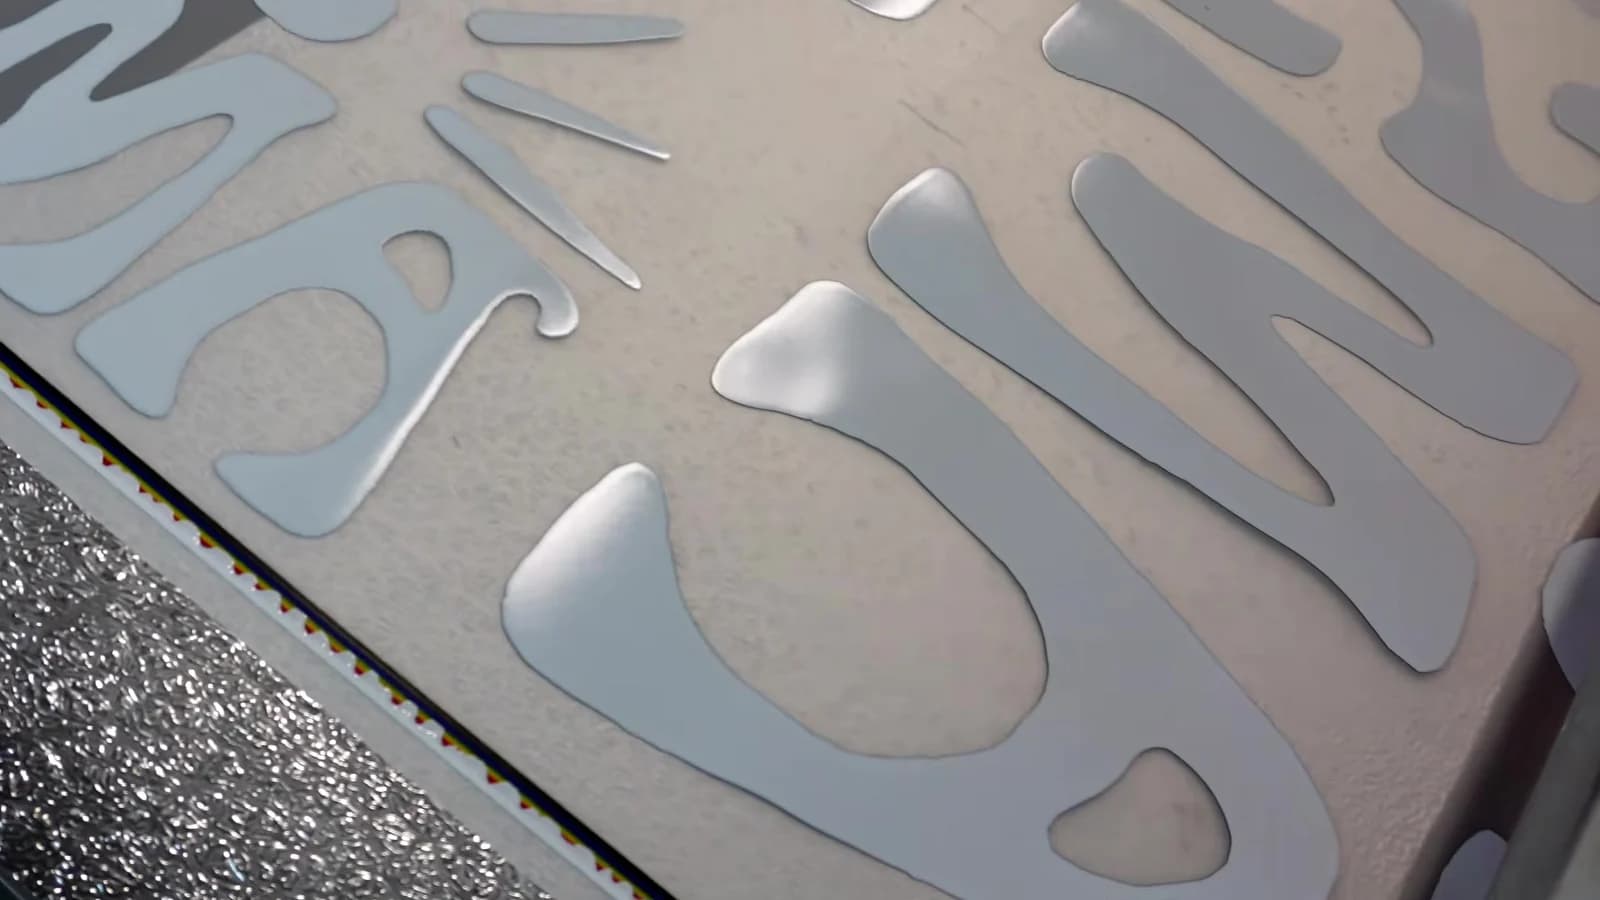
Simple hard-edge artwork may suit vector rebuilding. Gradients, glows, texture and soft shading need a different cleanup approach. Inspect the result against the original idea before placing it on a sheet.
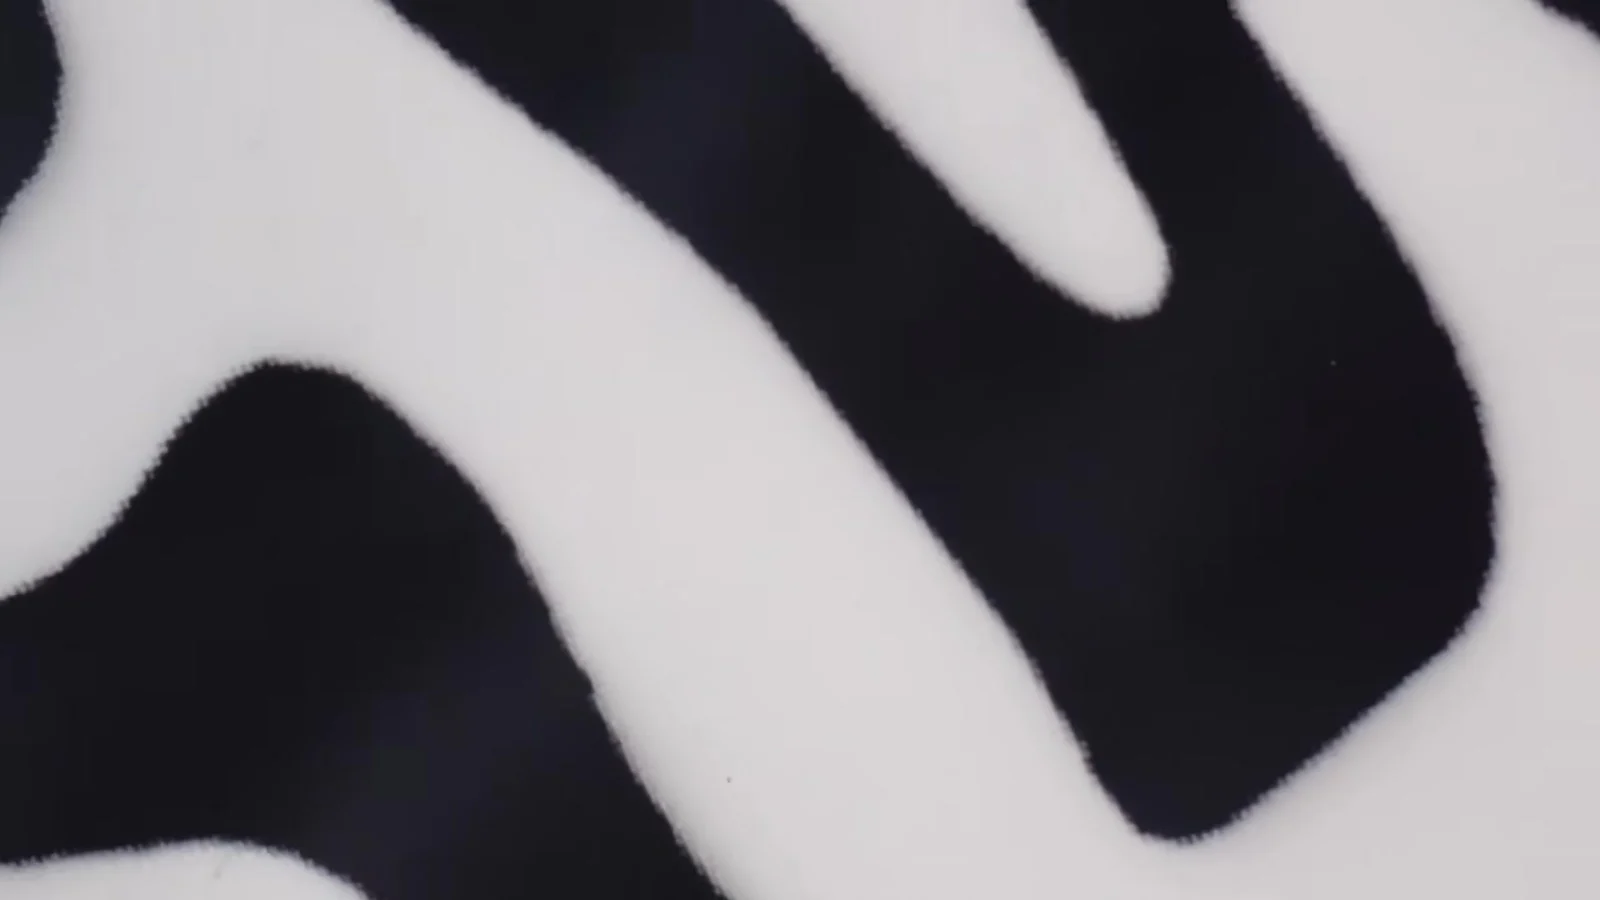
Compare the actual files at the same intended size before choosing which one to print.
Pixels and inches answer different questions
For a raster image, PPI equals actual pixel width divided by intended width in inches. A 2400-pixel-wide image at 10 inches is 240 PPI; at 8 inches it is 300 PPI. Reducing inches puts more existing pixels into each inch.
Changing a resolution label alone does not rebuild detail. An upscale changes pixels and still needs inspection. Full image width can include empty canvas, making visible artwork narrower than its placement. Use current AMS transfer file requirements.
PPI describes available pixels at a chosen size. It is not quality approval.
Which version are you actually checking?
An original is starting artwork. A thumbnail, screenshot or mockup shows an idea; find the actual file instead of substituting a preview. A completed Make Print Ready version is a specific result that still needs review.
In My Designs, find the saved design matching the completed result you reviewed. A similar thumbnail or familiar filename alone does not establish version identity. Prepared-file help explains saved output and supported access.
Identify the version you reviewed before placing or reusing it.
The 5-minute DTF file check before you order
Keep the approved reference beside the actual file. Check every word, name, date, number and logo detail. Look for missing marks and unintended additions before repeating the artwork.
View the actual artwork over light and dark backgrounds. Check for an opaque box, halo, stray pixels or missing detail. Confirm the visible design width and inspect the sheet proof after placement. Use current AMS transfer file requirements for production specifications.
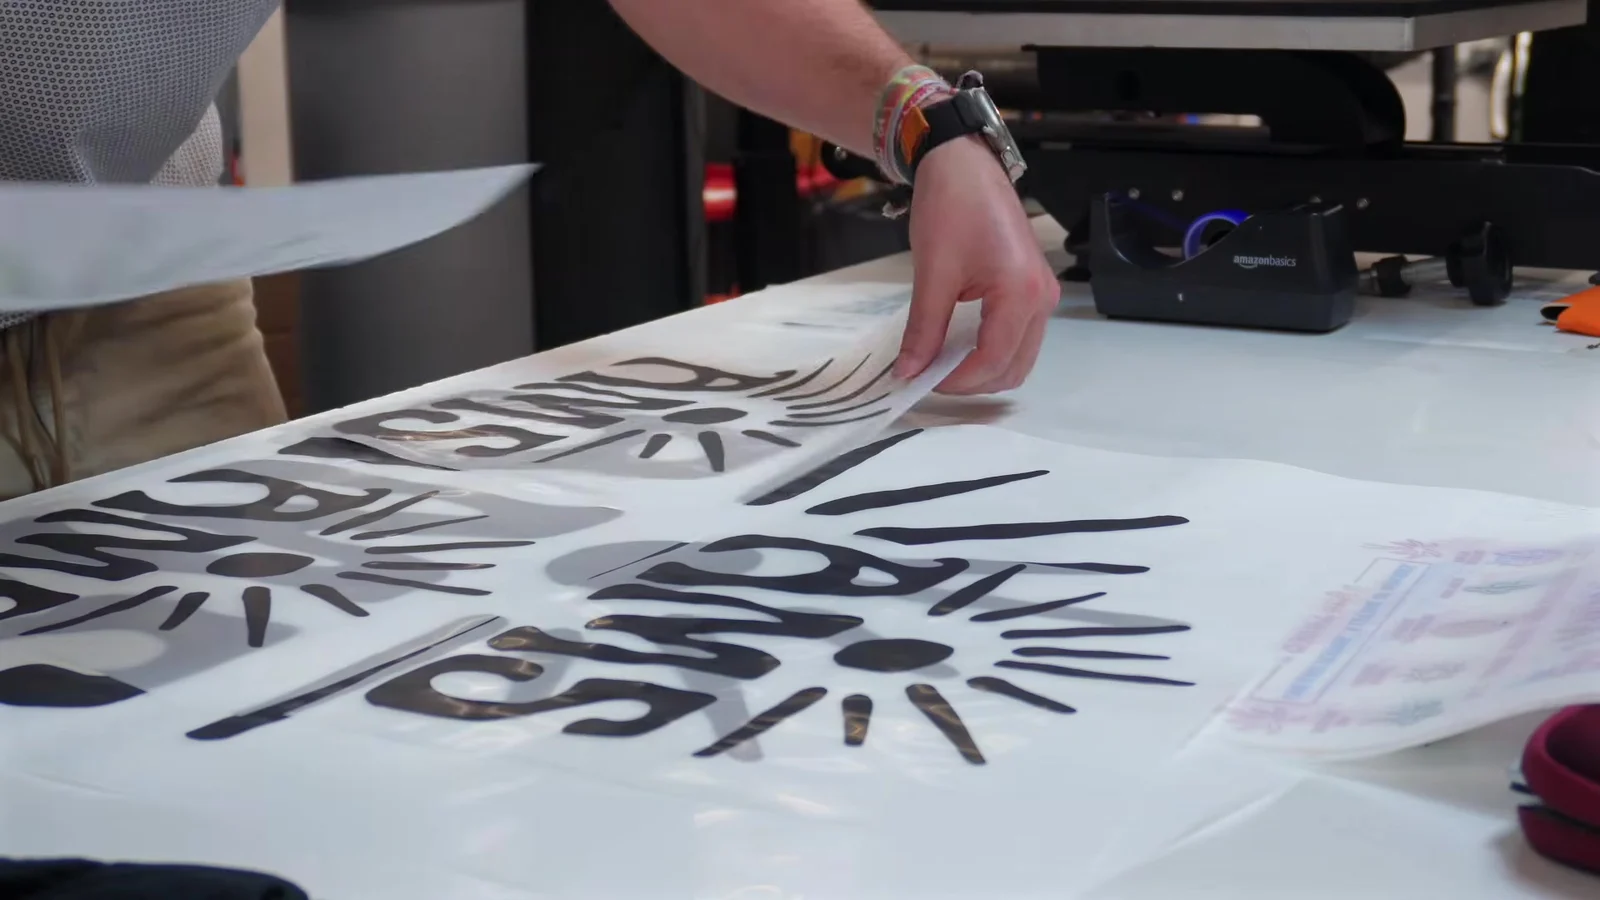
The file check should happen before the quote, before the gang sheet, and before the press.
ChatGPT, Gemini, and DesignGen are not the same file path
ChatGPT artwork and Gemini artwork can give you a strong idea, but the download is not automatically a production file. Ask what you actually have: a transparent PNG, a vector file, a JPG, a mockup, or a screenshot. Those are different starting points.
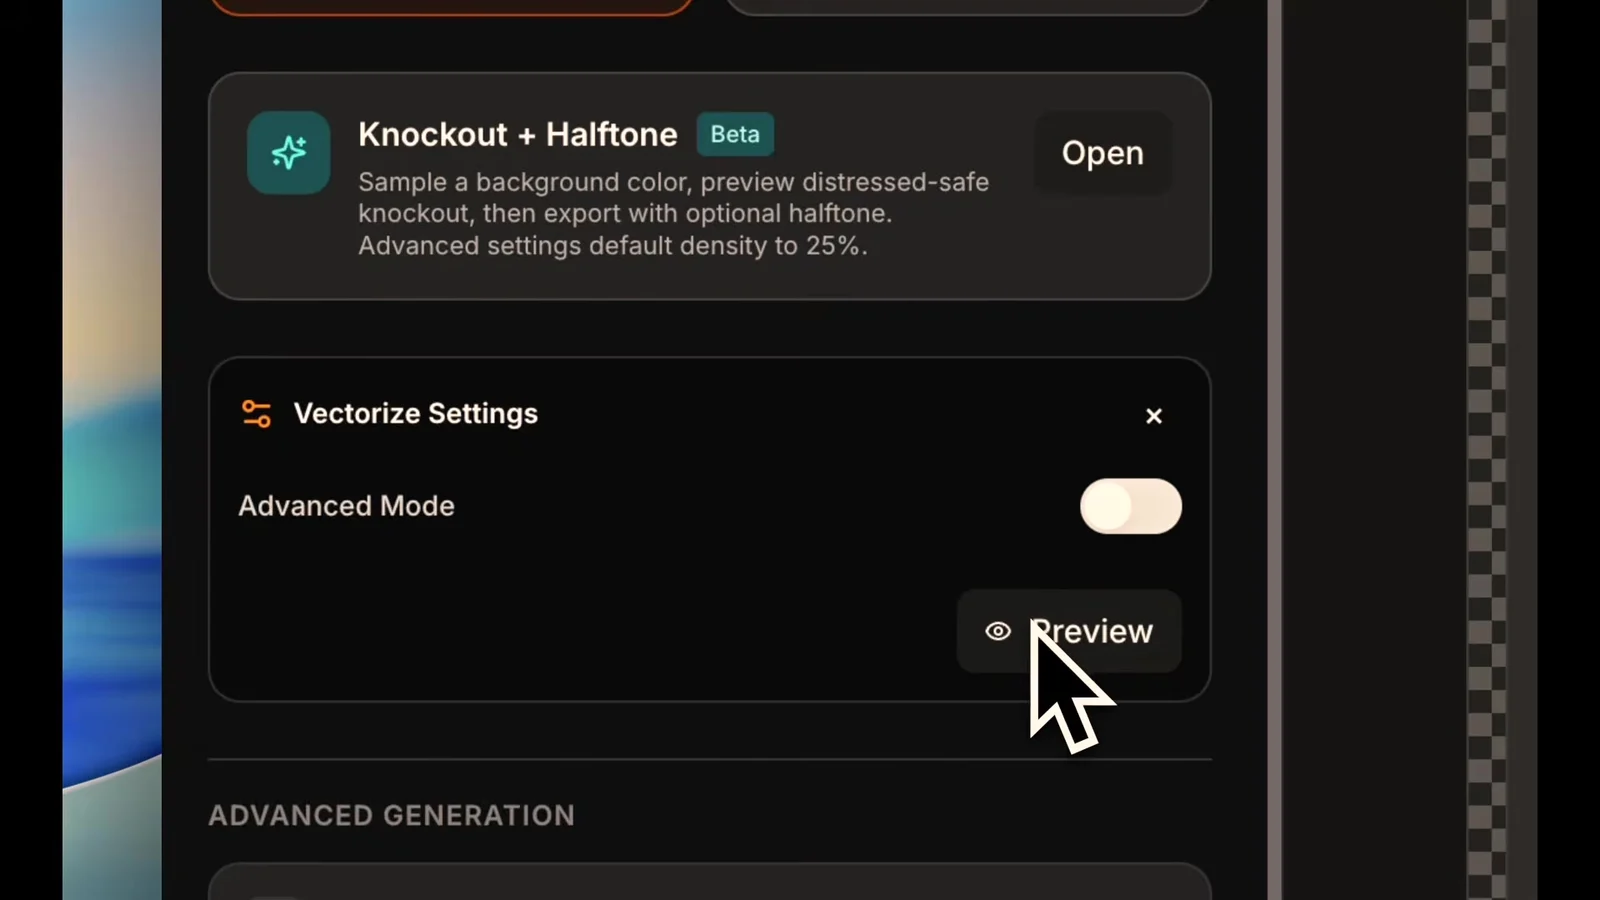
The DesignGen cleanup workflow matters here because it can help rebuild simple AI artwork into a cleaner SVG path. The useful habit is simple: preview the vector result, zoom in, make sure the edges are right, then export the file. But if the design is a gradient, glow, smoke effect, or photo-style image, do not force it through a basic vector trace. That needs a different cleanup path.
The tool is not the answer by itself. The answer is choosing the right cleanup path for the kind of AI art you have.
Choose the operation for the artwork problem
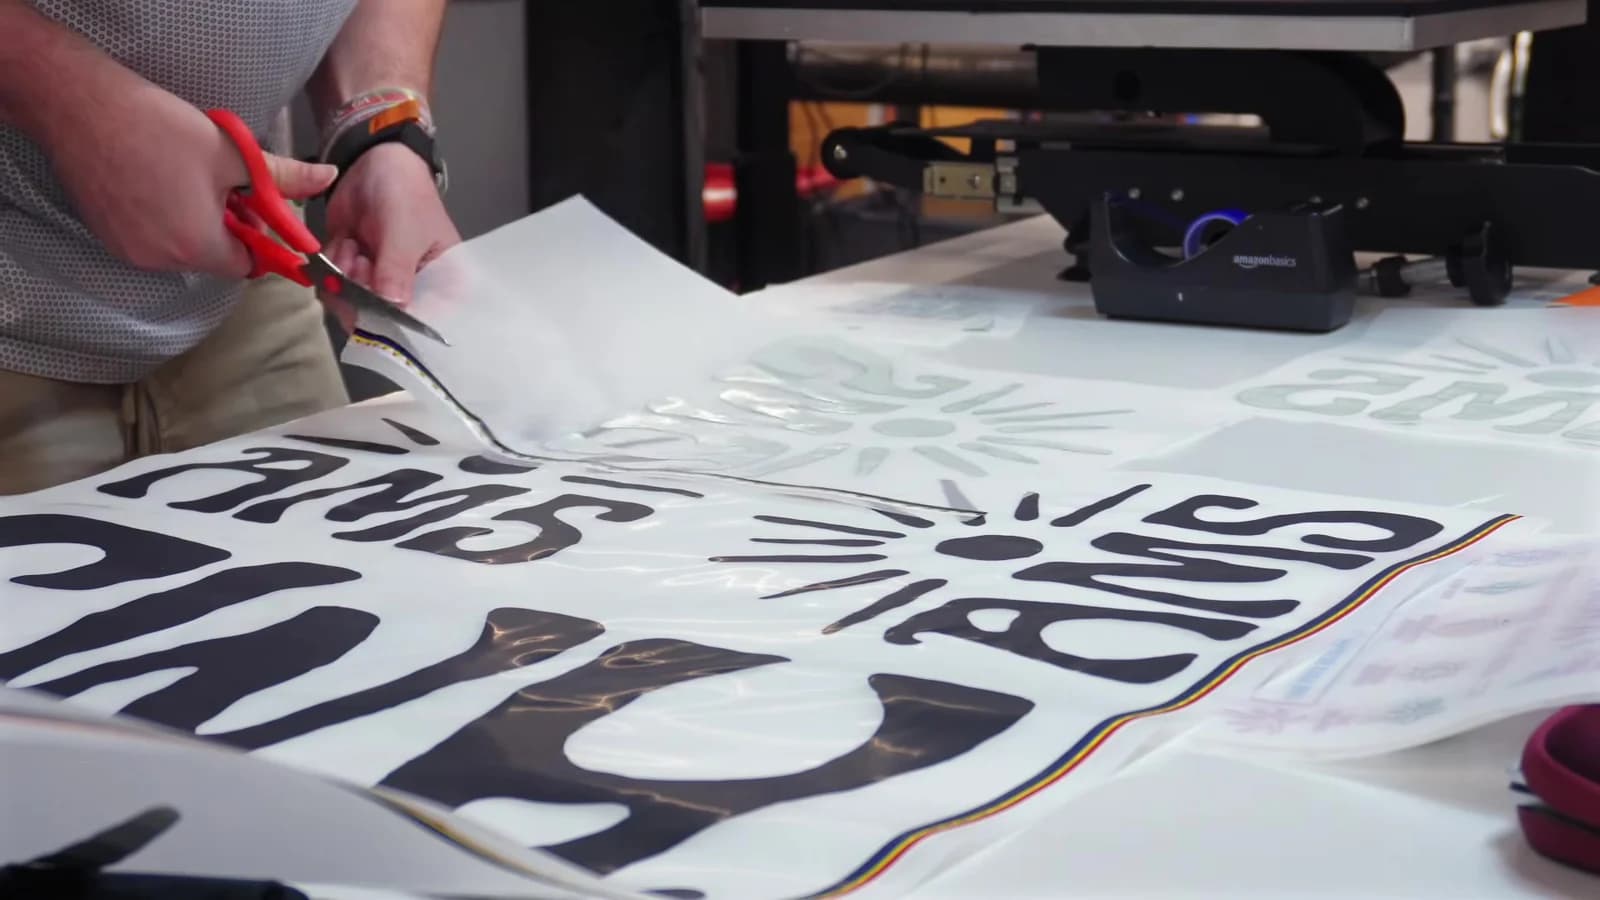
Create or edit when wording, artwork or composition must change. Evaluate vector rebuilding for simple hard-edge graphics and raster cleanup for gradients or photo-style detail. Inspect either result against the approved reference. The AI artwork workflow tutorial explains the broader cleanup choices.
Make Print Ready prepares a selected artwork version. File checks do not approve spelling, exact logo fidelity or every physical enlargement. Do not assume automatic background removal or missing-detail reconstruction. Prepare artwork help explains the workflow and remaining human checks.
Choose the operation for the problem and inspect its result.
Same prepared version or changed artwork?
More copies or a different position: reuse the same identified saved prepared version and inspect the layout. A new placement width: retain identity, calculate PPI where useful and inspect details at the new size.
Changed pixels, wording, logo detail or background: treat it as a new artwork version and review its quote if preparation is needed. A replacement upload or unknown legacy file needs identity and preparation checks first.
A mixed sheet needs review of ordinary artwork too; one prepared design does not cover other files. Reuse help explains supported saved-version reuse.
Same-version reuse retains identity; the previous result does not approve changed artwork.
Check the quote and recover existing attempts
The recorded launch waiver is 0 credits for Make Print Ready; the regular price is 4 credits. The selected version current quote controls before you choose the action. The waiver can change and does not make physical transfers free. Open AI Design Studio to work on the intended source.
My Designs offers Download .ams for protected AMS files. It is not ordinary PNG or vector. The audited Studio has no general selected-version PNG download control; internal printable output is not a customer export button. Prepared-file help explains supported use.
For payment pending or confirmed payment with missing credits, use Check payment status on the original purchase and read payment recovery help before buying again. For reserved credits or uncertain preparation, inspect the existing result and use reserved-credit help before another run.
A definite failure and uncertain outcome are different. Do not assume every timeout means failure or immediate release. If recovery stays unresolved, contact AMS support with page, approximate time/time zone, visible status/error and any relevant reference already shown. Leave out card details, bank codes, passwords and signed URLs.
Recover the existing attempt before another purchase or preparation.
Choose the DTF transfer size after the art is fixed
A bigger gang sheet does not fix a bad file. If the art is soft, a 22x120 sheet just gives you more bad repeats. Clean the file first, then choose the sheet size based on print placements, quantity, and how many repeats fit cleanly.
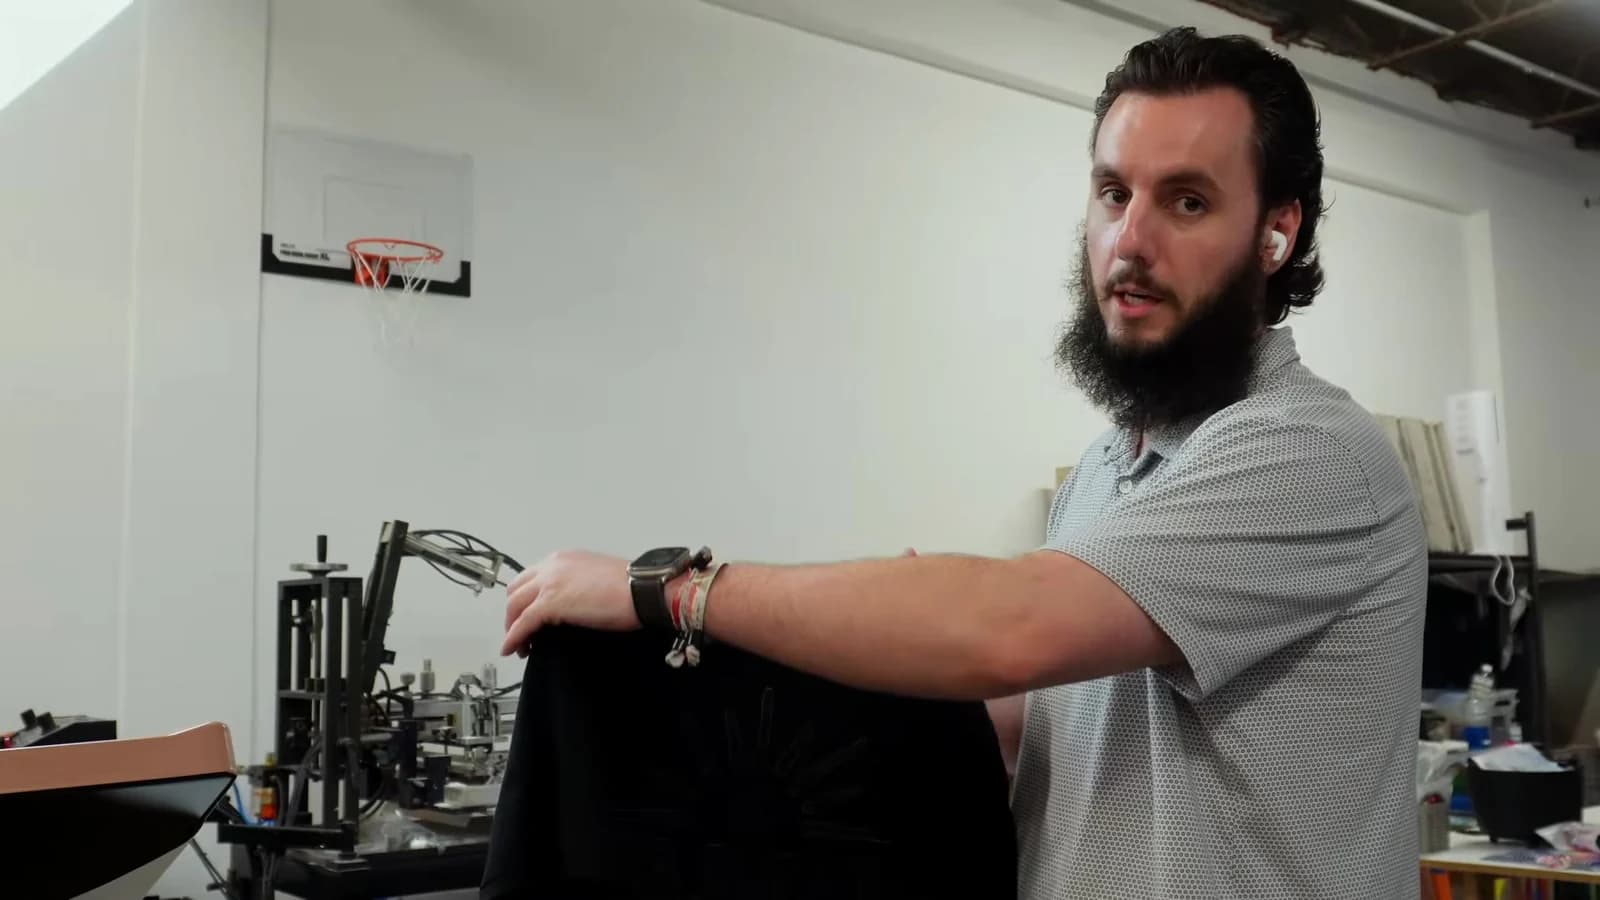
For a small test, a 22x24 DTF gang sheet may be enough. For more placements or multiple designs, a 22x60 DTF gang sheet, 22x96 DTF gang sheet, or 22x120 DTF gang sheet can make sense. The deciding question is not which sheet is biggest. It is how many clean, final-size transfers you need.
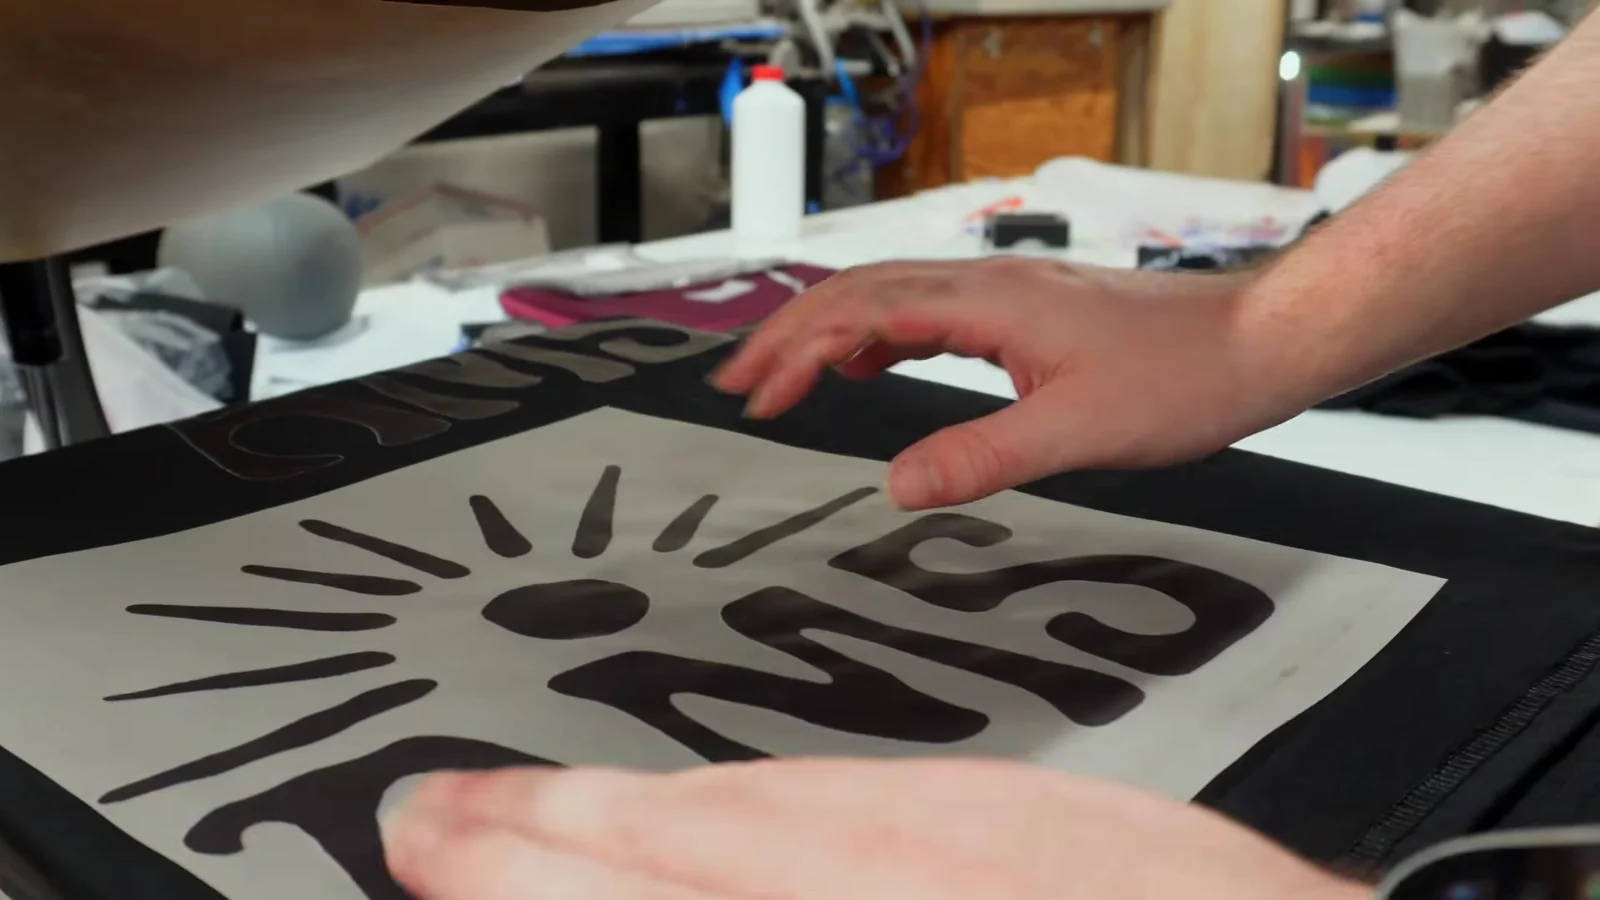
Gang sheet math comes after artwork cleanup, not before it.
A Houston repeat order: find the approved artwork first
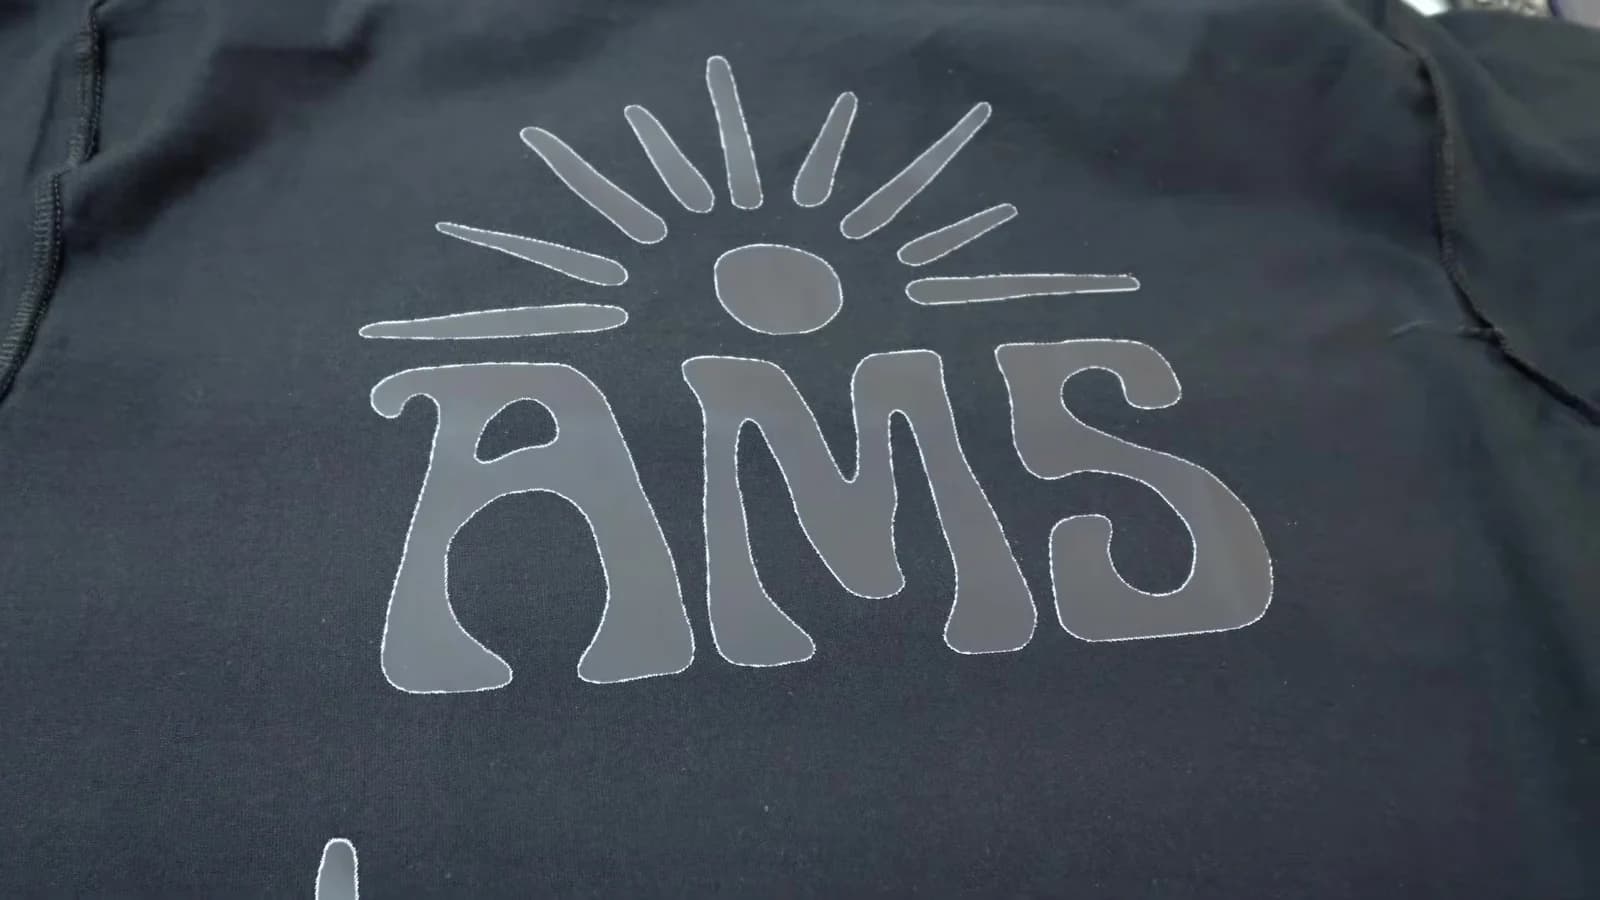
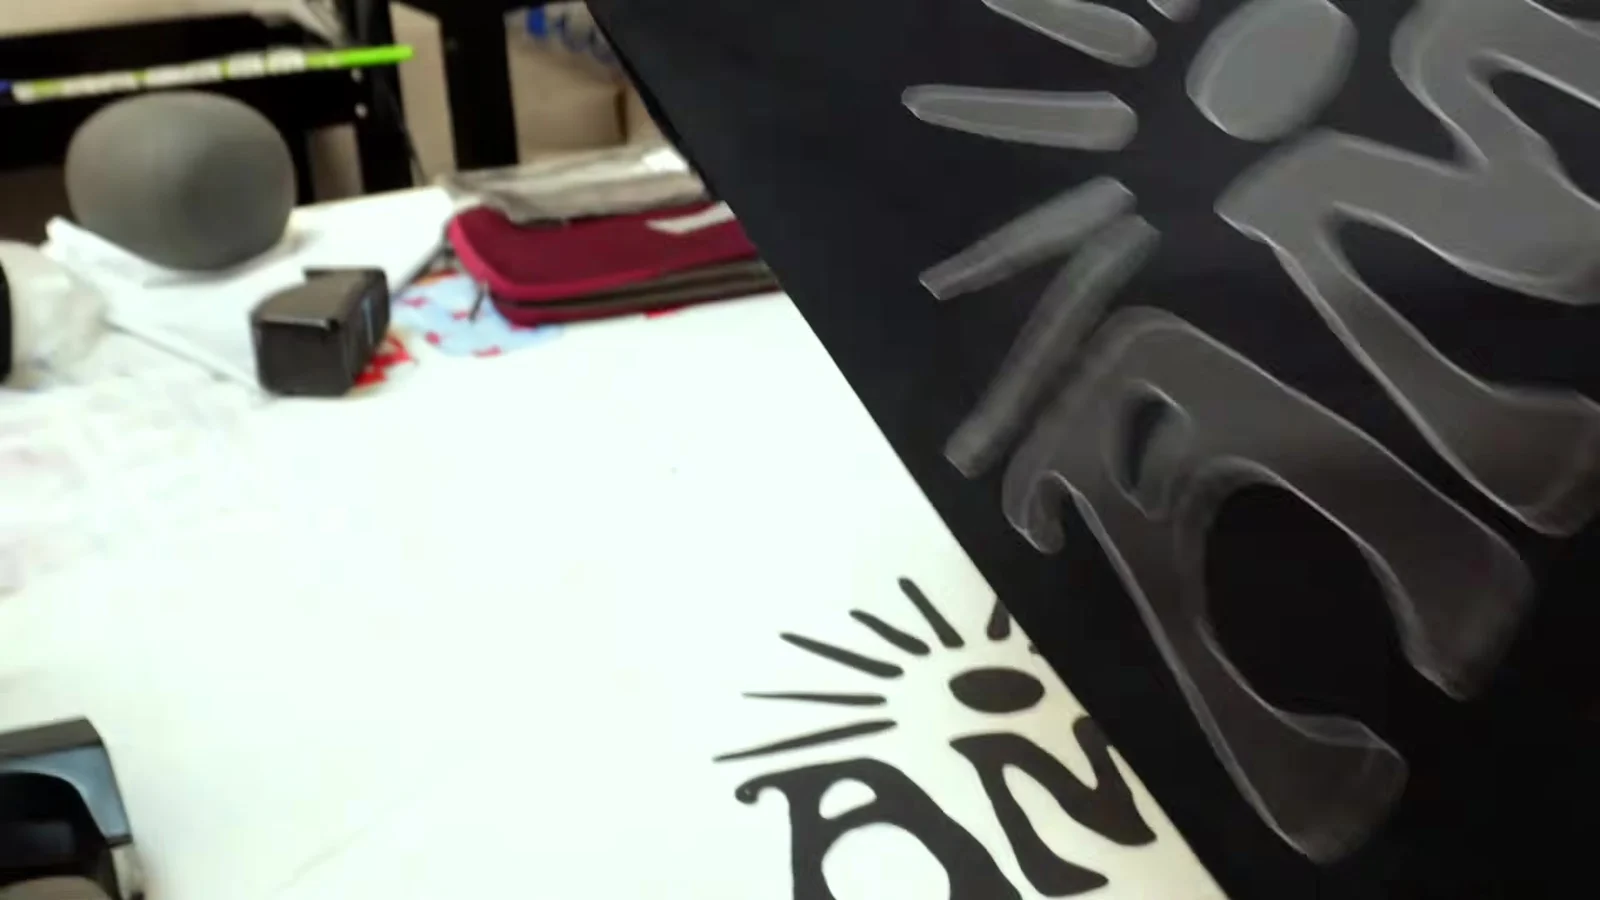
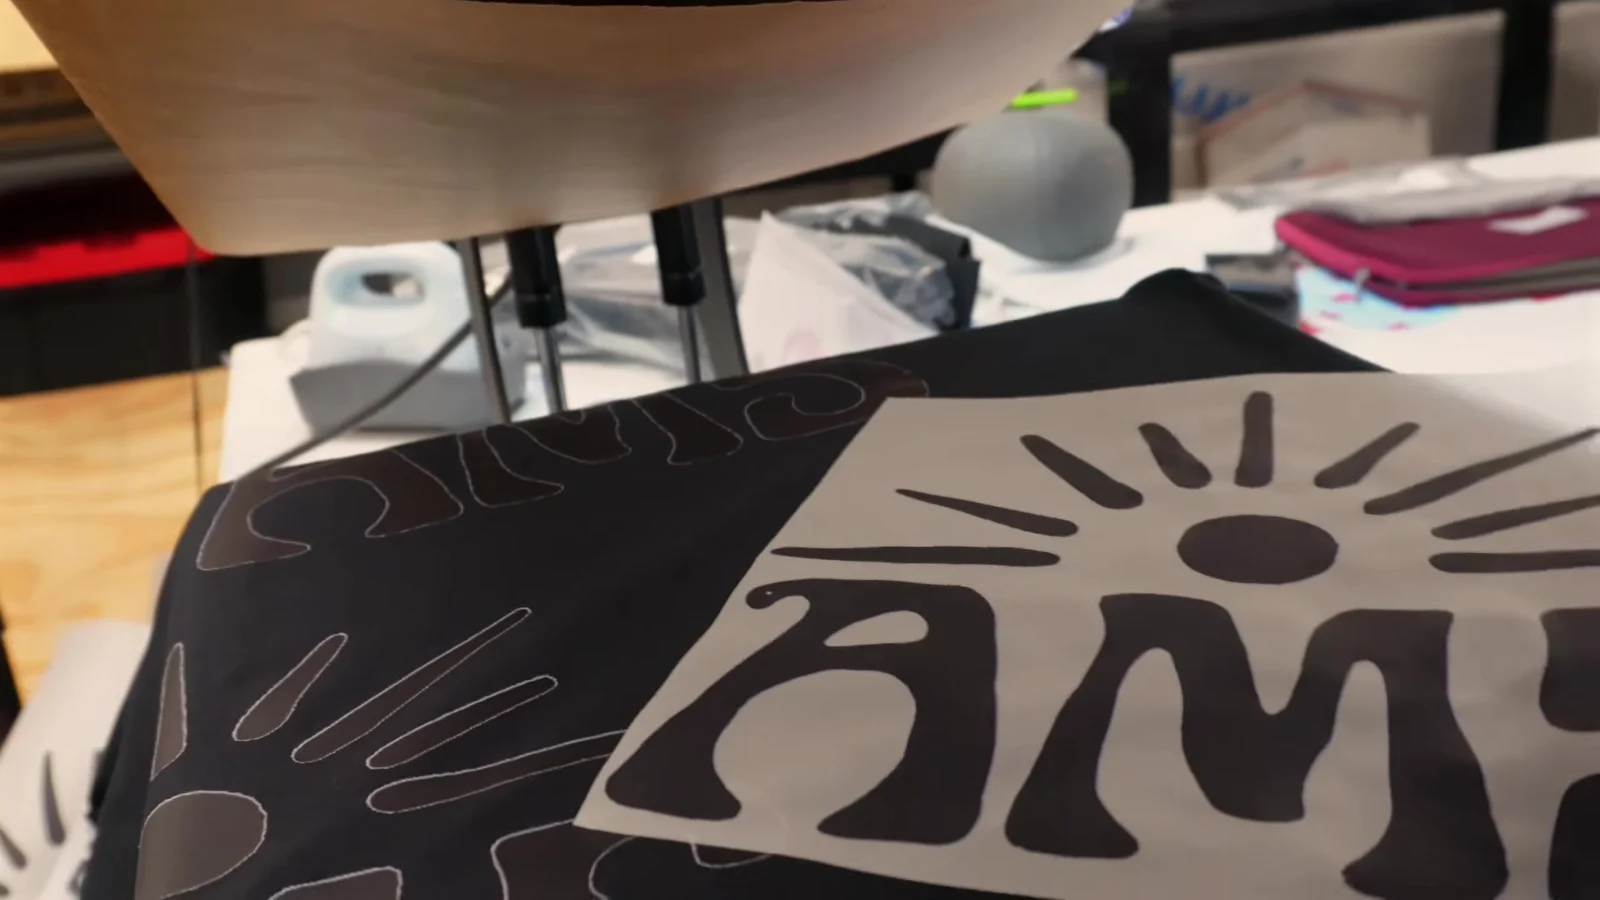
Imagine a Houston school event organizer needs another batch using an already approved design. This is a hypothetical example, not a customer story. Find the exact saved prepared version, confirm words and pixels are unchanged, and inspect its intended width for the new placement.
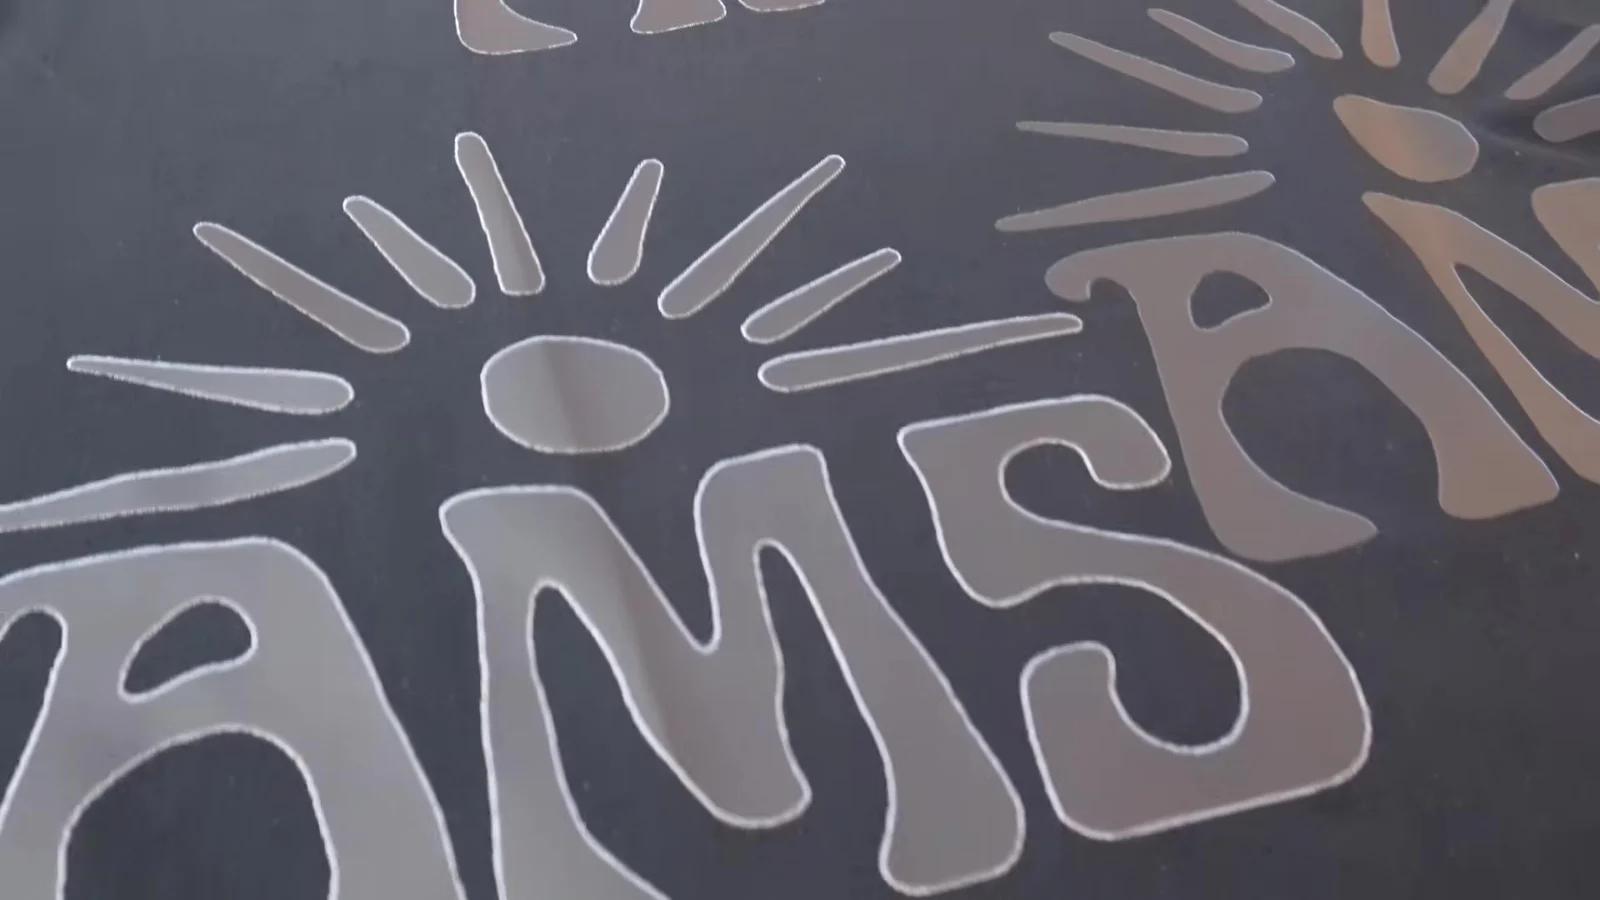
More copies or a different arrangement can use that identified version. A revised date, sponsor name or background is new artwork and needs review. Check actual order production, pickup or shipping choices after resolving the art; preparation alone does not establish same-day eligibility.
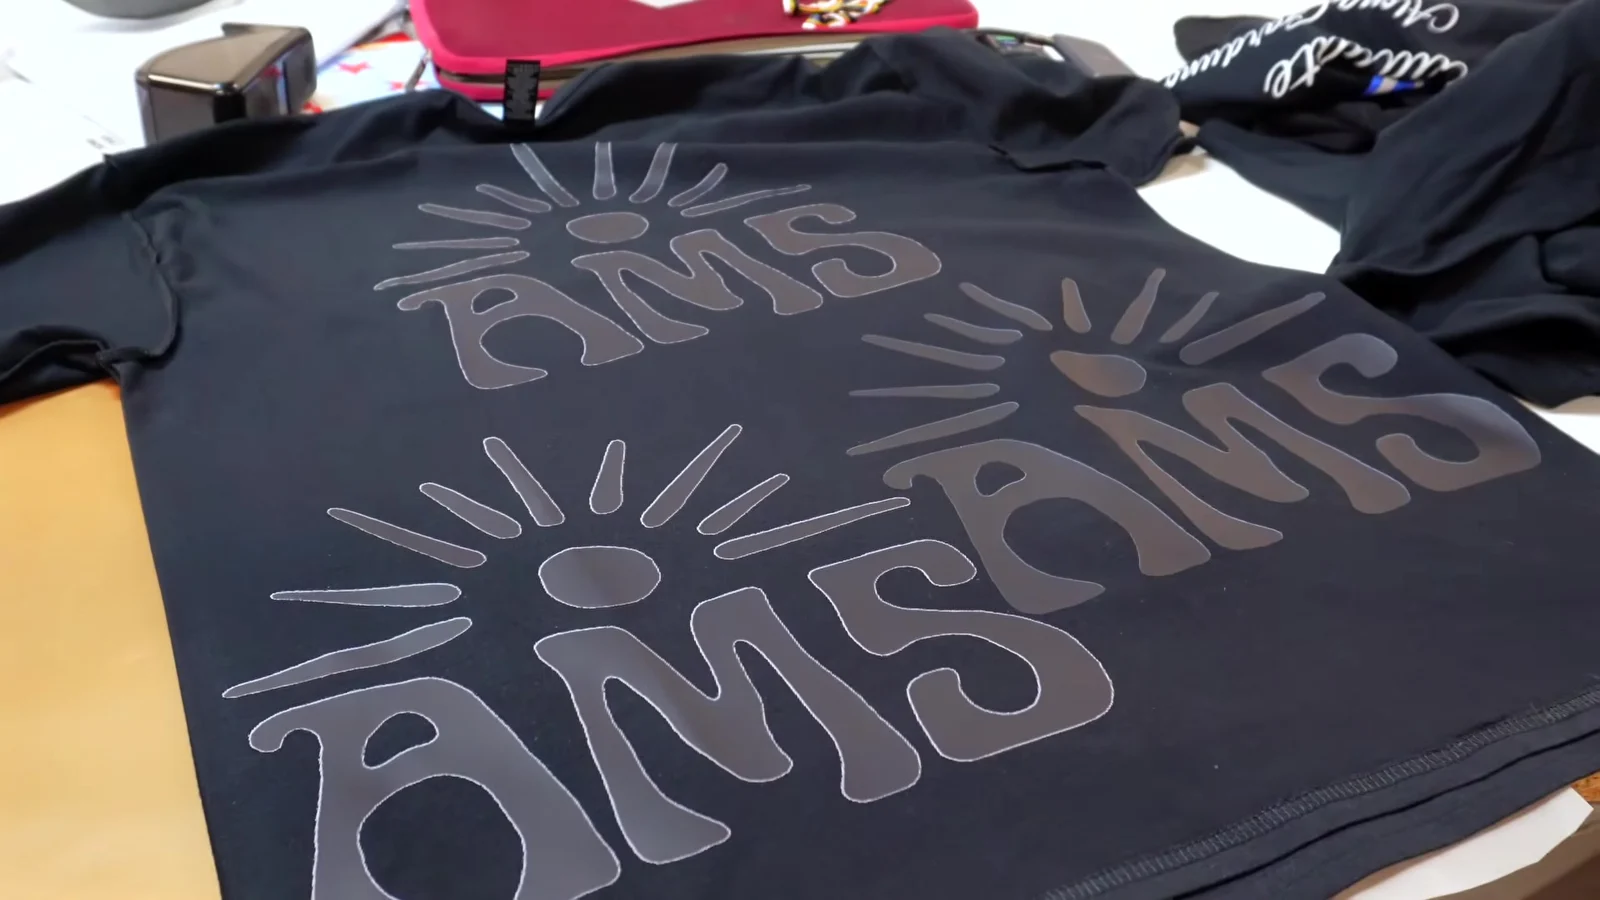
For that event, choose DTF transfers when your team can test, press and inspect before the handout date. Choose finished apparel when AMS should handle pressing and QC. Confirm current order pickup or shipping options for either path; do not use preparation as deadline approval.
Find and review the intended artwork before relying on current order delivery options.
When DTF transfers make sense for AI artwork
Once artwork is checked, transfers may suit a team that can press them. Finished apparel may suit a team that wants AMS to handle finished garments. Neither path skips artwork review.
Use the current AMS DTF application guide and inspect a test result before repeating the job. Existing physical comparisons show those particular tested files; they do not guarantee a new prepared design result.
DTF is a good path when the file is clean and the pressing process is real.
When finished apparel is the safer move
Finished apparel is the safer move when the shirts have a real handout date, multiple sizes, customer-facing quality, or nobody on your team should be pressing at night to save the job. In that case, AMS can press, inspect, sort, pack, and prep the order for pickup or shipping.
That does not mean finished apparel skips the artwork check. The file still has to be fixed first. The difference is that after the file is right, AMS owns the production steps instead of handing you transfers and hoping your team catches every mistake.
Finished apparel is not an artwork shortcut. It is a production-risk shortcut after the artwork is ready.
What to send AMS before we recommend a path
Send the original AI export if you have it, not just the screenshot. Add the upscaled version, vector version, mockup, final print size, garment, quantity, due date, pickup or shipping preference, and whether your team is pressing or AMS should finish the shirts.
Also tell AMS what tool created the file: ChatGPT, Gemini, DesignGen, Midjourney, Canva, Photoshop, Illustrator, or something else. That one detail helps the team know which problems to check first.
The cleaner the file story, the cleaner the AMS recommendation.
What to Send AMS
Words, background and visible print size
- Compare every word, name, date and number with approved text
- Inspect logo shapes, missing marks and unintended additions
- Identify the completed prepared version, not its preview
- Check light/dark backgrounds for boxes, halos and stray pixels
- Confirm the checkerboard is not baked into the artwork
- Check actual visible design width and empty canvas padding
- Inspect edges and details at intended physical inches
- Review copies, spacing and different sizes in the sheet proof
Review before repeating a physical order
- Resolve the selected artwork and approved wording
- Check intended placement width and sheet proof
- Use the current AMS DTF application guide
- Inspect a test result before repeating the job
- Confirm who presses, inspects and packs
- Check current pickup or shipping options
Choose the order path
Choose the AMS order path
AI art can look clean in a small preview and still show soft edges, a background box or incorrect lettering on a DTF transfer. Start with the actual file at the width you want to print. Making an image bigger does not automatically make its details better.
| Your situation | Best next step | Why | Watch out for |
|---|---|---|---|
| Soft or jagged edges | Ask Ams | Check actual pixel dimensions and intended inches; compare source and cleaned artwork at that size. | A larger file does not automatically contain cleaner details. |
| Wrong name, date or number | Ask Ams | Compare every character with approved text; correct the artwork and inspect its new version. | Preparation does not approve spelling or logo fidelity. |
| Box, halo or stray marks | Ask Ams | Inspect the actual artwork over light and dark backgrounds before ordering. | A checkerboard may be part of the artwork, not actual transparency. |
| Wrong version or visible width | Ask Ams | Find the completed prepared result and check visible design width, not only its canvas. | A thumbnail or familiar filename does not establish version identity. |
60-second order check
- Identify source, preview or completed prepared version
- Compare words, names, dates and numbers with approved text
- Inspect light/dark backgrounds for boxes, halos and stray marks
- Check visible width as well as canvas padding
- Calculate pixels divided by intended inches where known
- Inspect details at the intended placement size
- Recover pending payment or reserved work before another attempt
AMS shortcut
Choose the actual AI artwork version and inspect it at the intended width before ordering DTF transfers. Avoid using a thumbnail as the source. If a file or operation remains uncertain, use AMS review or recovery help before repeating it.
Quick Math
Pixels, inches and repeat risk
Use actual raster dimensions and intended inches. These examples describe size and repeated work, not quality approval or quoted production time.
At ten inches wide
2400 pixels / 10 inches = 240 PPI
Inspect the artwork at that width. Canvas pixels can include empty padding.
At eight inches wide
2400 pixels / 8 inches = 300 PPI
Reducing inches puts more existing pixels in each inch; it does not add detail or fix lettering.
Gang sheet repeat risk
1 unchecked design x 20 copies = 20 copies of the same problem
Inspect one intended-size version before filling a sheet.
Illustrative repeated work
50 shirts x an assumed 90 seconds = 75 minutes
This assumption illustrates repeated work, not an AMS press-time specification.
Two-placement order
50 shirts x 2 placements = 100 placements to inspect
Confirm both sizes and the layout before production.
PPI describes pixels per inch at a chosen size, not spelling, transparency or physical-quality approval. Resolve the artwork before multiplying it.
Houston order examples
Hypothetical Houston repeat order of approved art
This hypothetical organizer needs more copies, not new pixels. Find the exact reviewed prepared version, inspect its placement size and check current delivery options.
Buyer: Houston event organizer
Qty: 20 to 40 test transfers
Deadline: This week
Path: DTF Transfers
Restaurant needs staff shirts by Friday with only a logo screenshot
The deadline has two risks: artwork cleanup and production labor. Finished apparel reduces the second risk after the file is fixed.
Buyer: Houston restaurant
Qty: 36 shirts
Deadline: Friday pickup
Path: Finished Apparel
Print shop customer brings an upscaled AI mascot
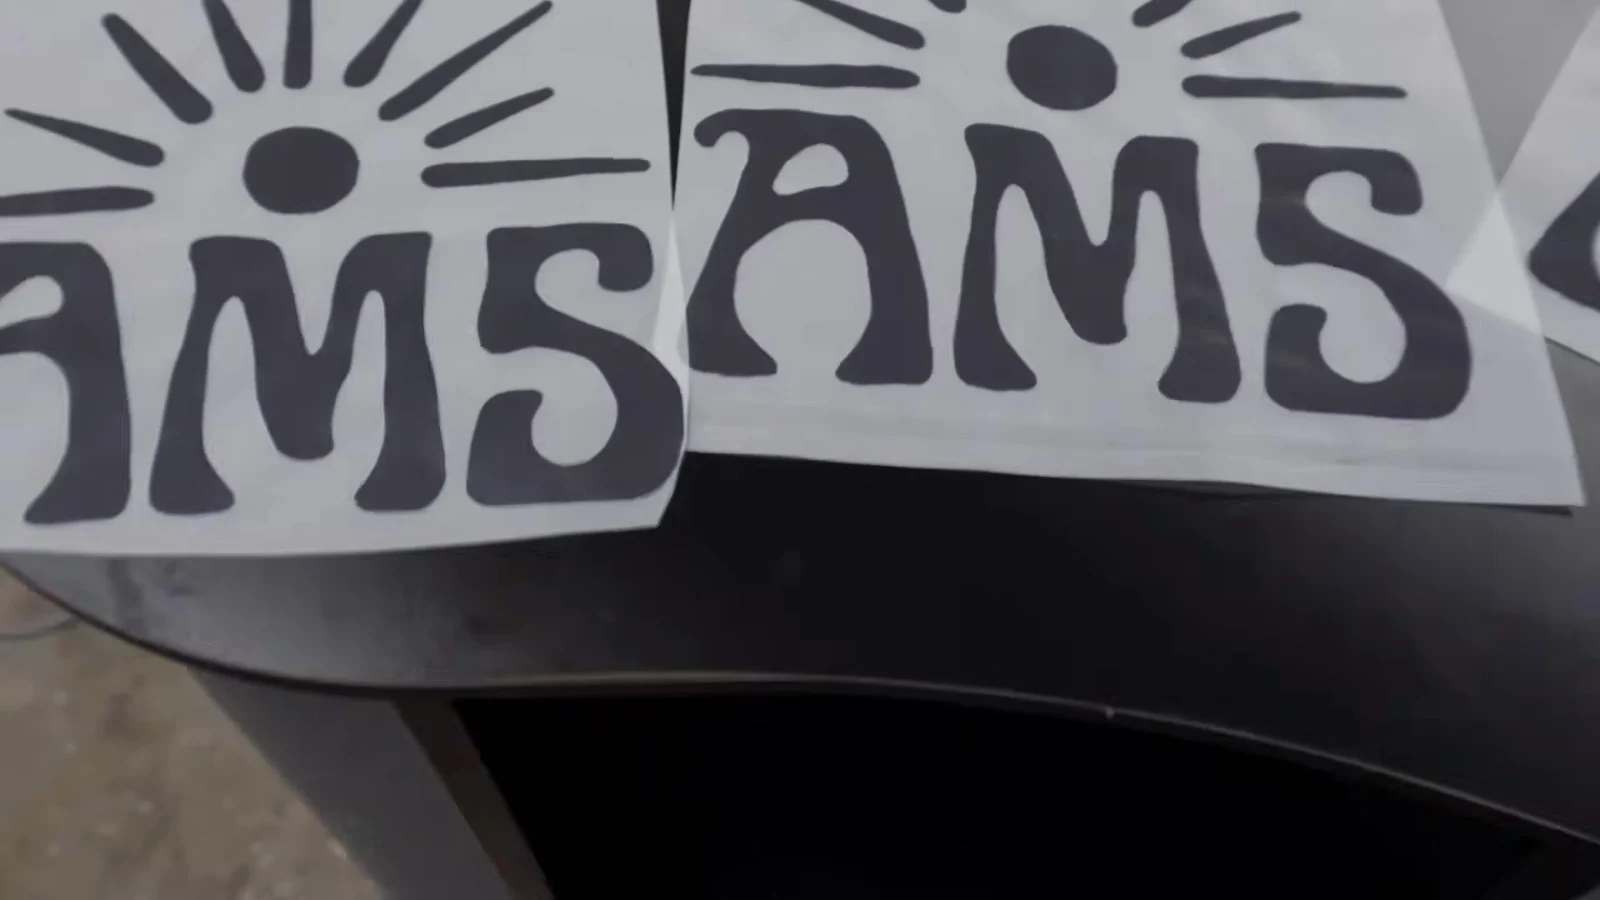
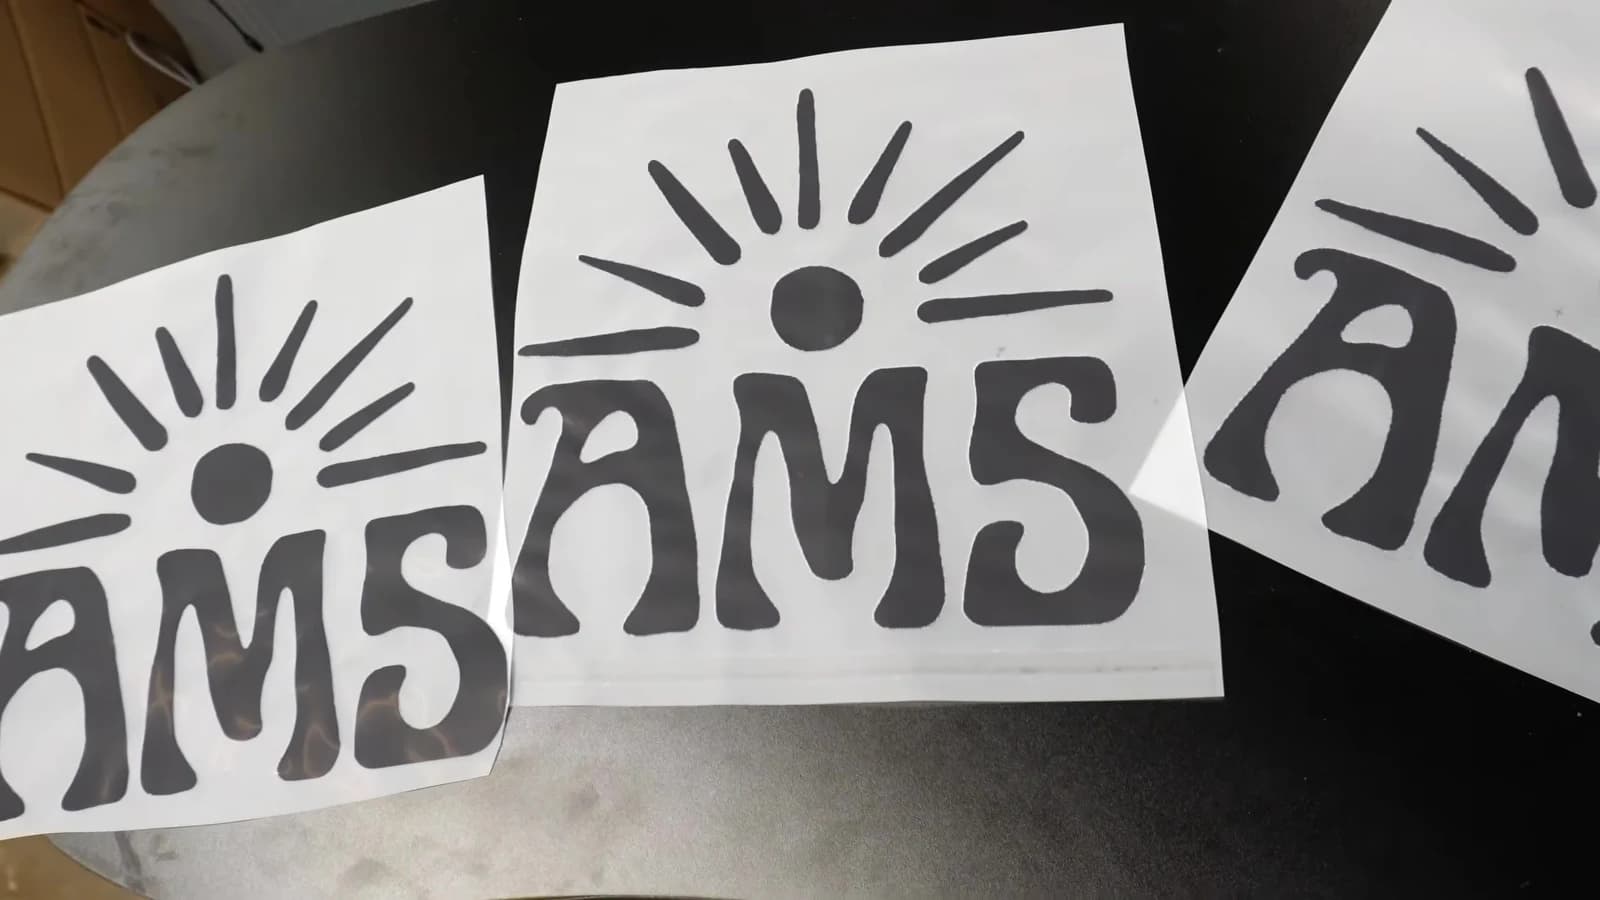
The video shows the exact trap: upscaling can reduce jaggedness while still leaving soft edges that look bad on fabric.
Buyer: Print shop
Qty: 75 front prints
Deadline: Flexible
Path: DTF Transfers
AI artwork DTF mistake diagnosis
| Problem | Likely cause | Prevent it | When to ask AMS |
|---|---|---|---|
| Blurry or low-res edges after upscaling | Dimensions changed without necessarily improving detail. | Compare source and result at the intended width. A DPI label alone does not add detail; use current AMS file requirements. | Ask for review if edges stay soft at intended size. |
| Incorrect text or logo detail | The artwork differs from the approved reference. | Compare character by character; correct content and review the new version. | Ask for review if the approved content cannot be restored. |
| Box, halo or stray background | The file may contain unwanted background or weak edges. | Inspect the artwork over light and dark backgrounds and confirm the background is truly transparent before ordering. | Ask for review when the background remains uncertain. |
| Vector trace changes shading | Texture or gradients may not suit a basic vector trace. | Compare the reference; evaluate raster cleanup instead of forcing a trace. | Ask for review when shapes or detail change. |
| Wrong prepared version placed | Source, preview or changed artwork was mistaken for the reviewed output. | Find the exact saved result and inspect identity and intended width. | Ask for help if the saved result cannot be identified. |
| Pending payment or reserved credits | The existing purchase or preparation is not confirmed complete. | Use payment recovery help or reserved-credit help before another attempt. | Contact support if status or result stays unresolved. |
| Artwork or pressing work puts an event deadline at risk | The intended version or the team ability to finish garments has not been resolved. | Review the actual file first, check current order delivery options and confirm who can test, press and inspect before the event. | Ask AMS when artwork review or finished-garment production needs help; do not assume preparation approves a deadline. |
Interactive Tool
Build Your DTF Transfer Request
Answer a few quick questions and we will turn your transfer details into a clean AMS request with artwork, timing, pickup, and pressing context. The builder turns your answers into a customer-facing request, an internal AMS production summary, and smart warnings before you send it.
Artwork source
ChatGPT, Gemini, DesignGen, Canva, screenshot, original file
Artwork file
Transparent PNG, SVG, PDF, JPG, screenshot, or not sure
Final print size
Example: 11 inches wide, left chest, sleeve, not sure
Transfer size
22x24, 22x60, 22x120, or not sure
Garment
Shirt style, color, customer-supplied blank, or AMS recommendation
Quantity
Total pieces or repeats needed
Deadline
Real handout or pickup date
Production path
DTF transfers, finished apparel, blanks plus transfers, or not sure
Frequently Asked Questions
Why did my AI art look sharp on screen but fuzzy on a DTF transfer?
The screen preview may be hiding soft pixels, compression, fake transparency, or weak edge information. DTF prints the actual file, so those problems become visible on film and fabric.
Should I upscale AI art before ordering DTF transfers?
Only if the upscale genuinely improves the file under zoom. Upscaling can make the file larger while the printed edge still looks soft or pixelated.
When should I vectorize AI artwork?
Vectorize simple hard-edge designs like logos, bold lettering, mascots, icons, and flat graphics. Do not force gradients or photo-style artwork into a simple vector trace.
Does 300 PPI mean the artwork is approved?
No. It describes pixels per inch at a chosen size, not correct spelling, transparent backgrounds, clean detail or a physical result.
Can I reuse prepared artwork?
Use the same identified saved prepared version through the supported workflow. Copies/position do not change pixels. A new size needs inspection; changed artwork needs new-version review.
Where do I download a PNG in Studio?
The audited Studio has no general selected-version PNG download control. My Designs offers Download .ams for protected AMS files, not PNG or vector. Prepared-file help explains supported use.
Should I buy again when payment is pending?
Use Check payment status on the original purchase first. Read payment recovery help and contact support if the status or missing credits stays unresolved.
Is Make Print Ready always free?
No permanent waiver is promised. Recorded launch waiver zero / regular price four credits; the current selected-version quote controls. Physical transfers are a separate order.
Sources
- AMS DTF application guide - AMS Transfers
- AMS transfer file requirements - AMS Transfers
- AMS Houston DTF Transfers - AMS Transfers
- AMS AI Design Studio - AMS Transfers
- Print ChatGPT Designs - AMS Transfers
- Print Gemini Designs - AMS Transfers
- DesignGen - DesignGen
- Adobe image resolution - Adobe